
My little family is enjoying Halloween to the fullest. I have to say that my cheer for Halloween is very contagious for my husband and my son. Throughout the years, they have gotten used to being part of 31 little parties during the month of October, sometimes even earlier LOL! I have to admit that I might like Halloween decorations a little more than Christmas. Yes, it is the truth, sorry! :) There is just certain elegance to all those blacks, dark reds schemes, and of course, all the fun that seems to be harmonized between the little ghosts, witches and skeletons. Needless to say, I am HUGEEEE on Halloween decorations at home, although many of them tend to be very pricey, even for the material they use. Every year, when Halloween is over, I rush to Target, Hobby Lobby and Michael's to buy the discounted holiday items and put them away until next year. This time, I decided to challenge myself to make a DIY project using supplies entirely from the Dollar Store, and I have to say I was very happy with the results. Let me show you how I made this super cute "marquee halloween light box"
These are the supplies I bought, for a total amount of $11.00 for all three boxes.
I bought 3- 8X10 frames, 3 little lights, 2 Halloween place mats, two foam boards and one sheet of cute, partying ghosts. I bought all the materials at the Dollar Tree except for the place mats, I found those at the 99. Cents only store.


I put the picture frame apart and removed the mat.

I cleaned the glass and made sure that there were no dirty spots.

I moved on to tracing the parts to put together the frame for the box.

I cut one rectangle the exact same size as the frame. No perfect measurements here. I basically just used the frame to trace its shape with a pencil on the foam board.
The other rectangles for the sides of the box were the following measurements.
2.5 X 12 inches long. and the other two were 2.5 X 8 inches long.
I put together the frame using hot glue and the attached it to the front part of the picture fame. I also added a few dots of hot glue to the inside of the frame so that it would stay in place.

I used the back part of the frame to create a template for the lights to go in. I pre-made a template in the computer with 20 little holes around the frame, one for each little light.


I cut the place mat to fit in the middle of the holes. I liked these place mats because the images were the perfect background since I wanted to create sort of a 3D effect.

I placed the lights around the frame following my template.

I added a few dots of hot glue to the back of the lights to attach it to the foam.

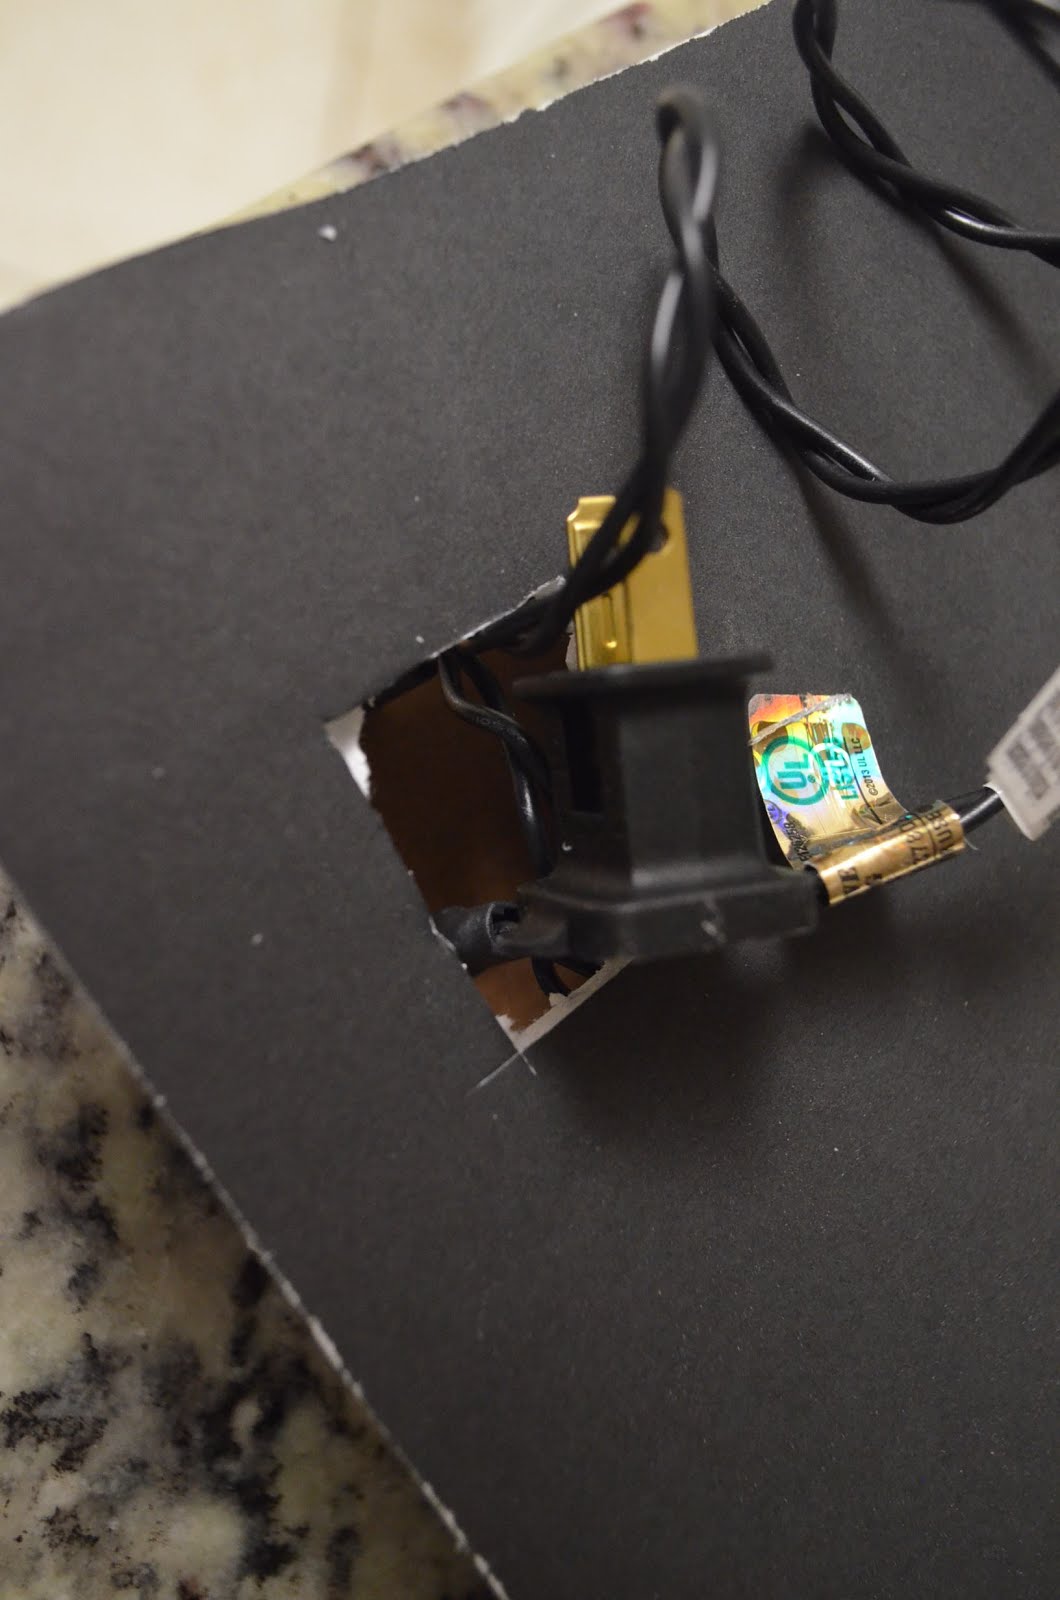
Before attaching the back part to the frame, I cut a little square for the plug.
And these are the final results! I love the way they came out and honestly, they look so much better in person than they do in pictures. My family came over and I got lots of compliments on them. I think they are super cute and fun. So perfect for Halloween, but I wouldn't hesitate to make a couple of these little projects for Christmas too :)


No comments:
Post a Comment