During Christmas time, I love going to craft stores and just look around all the gorgeous Christmas decoration. I get so inspired to create my own projects, especially because the are honestly just too expensive! Wall art always catches my attention, and for my next project I had in mind a couple of frames for my mantel. I made this gorgeous LOVE and JOY rose gold signs.
I used my Cricut machine to cut the words JOY and LOVE on these rose gold glitter fabric sheets that I found at Hobby Lobby and they were $1.67 a piece. I bought one for each frame so that I could make the letters as big as possible
Also at Hobby Lobby I found the white fabric to cover the frames. This type of white
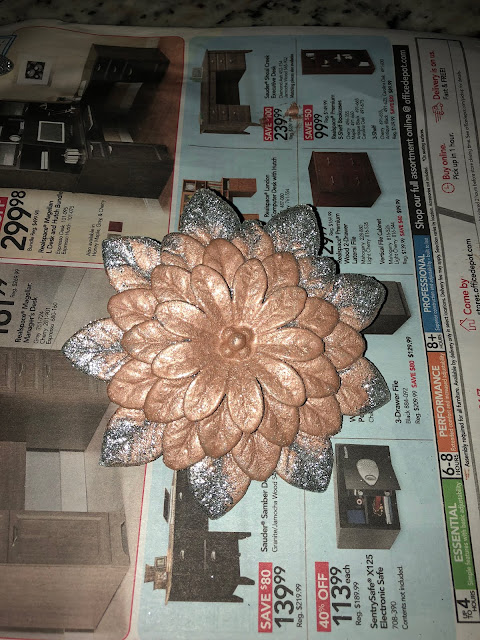
velvet was $6.99 per yard. I bought whole yard but ended up using only half a yard for both frames.I wasn't really able to find that many rose gold decorations that I could use to embellish the frames. The little decorations I found were kind of pricey and that was going to defeat my purpose of creating my own projects. So I headed over to my local dollar store and I found these silver glitter poinsettia ornaments and decided to paint them myself. I used the DecoArt Acrylic paint in color "Rose Gold." I really have to say that this was probably my favorite part of the project. Maybe because I was hesitant about painting over glitter with acrylic, but I was not disappointed at all!! They turned out great and I loved the color. The glitter irradiated beautifully even over the paint. I was very happy with the results.
I also added a few pink pearls in the center of the poinsettia to make it even prettier.
I really was very happy with the way they turned out, and they look even better on the frame :)
The frames I used for this project were 11X14. I was able to find these frames at my local Dollar Store too. These were the biggest size I found for $1.
I used the back of a gift wrapping paper that I already had add some type of liner so that the letters wouldn't be visible under the fabric.
'

It worked out perfectly. I just covered the frame with the white fabric and a little help from my glue gun.
The fabric sheets are super easy to work with. I used hot glue to adhere it to the fabric and this was probably the best option. I decided to keep the center of the letter "O" so that i could place the poinsettia on top of it.

And lastly, I added a little bit of ribbon to the back of the frame to hang.
I really enjoyed working on this project and I know that if I saw these frames at Michael's or any store, I would be completely in love with them! That's how I know I was successful with my DIY.
I hope you enjoyed my post and that you find inspiration or motivation for your own creations.


No comments:
Post a Comment