Sunday, November 5, 2017

Fall Centerpiece

November is here and although I am sad to see all the Halloween decorations disappear, I am looking forward to all the fun and delicious food during this month. I always feel like Thanksgiving gets overshadowed by Christmas and this year, before I move on unpacking all my Christmas decorations, I decided to save the turkey and enjoy Thanksgiving to the fullest. This year, I will be hosting Thanksgiving in my home and I will little by little prepare my house to look perfect for this little occasion. I don't want to spend too much money on expensive Thanksgiving decorations, I just want to make my house look nicely dressed for the occasion. My first project was a centerpiece for my dining room. Here is how it came out, I absolutely love it! 


Creating this project was fast and easy and would you believe me if I told you that I spent less than $5.00?! yes, that is right. That is all I spent! 
I bought this little tray at the dollar store and of course, I didn't love the color but with a nice coat of paint I figured it would do the job just fine.


I used gold and red metallic acrylic paints to give the tray an orange fall look.  A couple of coats and it was ready.


I love how the two colors combined gave the tray sort of a copper touch. I didn't worry about painting the inside of the tray because I would cover it with flowers.


I tried different artificial flowers but I realized that I wanted to do something different. I bought fabric from Hobby Lobby and a sheet of burlap from the dollar store and made my own rosettes. They are super easy to make. You can find tons of tutorials on Pinterest. 
These are the two types of fabrics that I used in addition to the burlap.
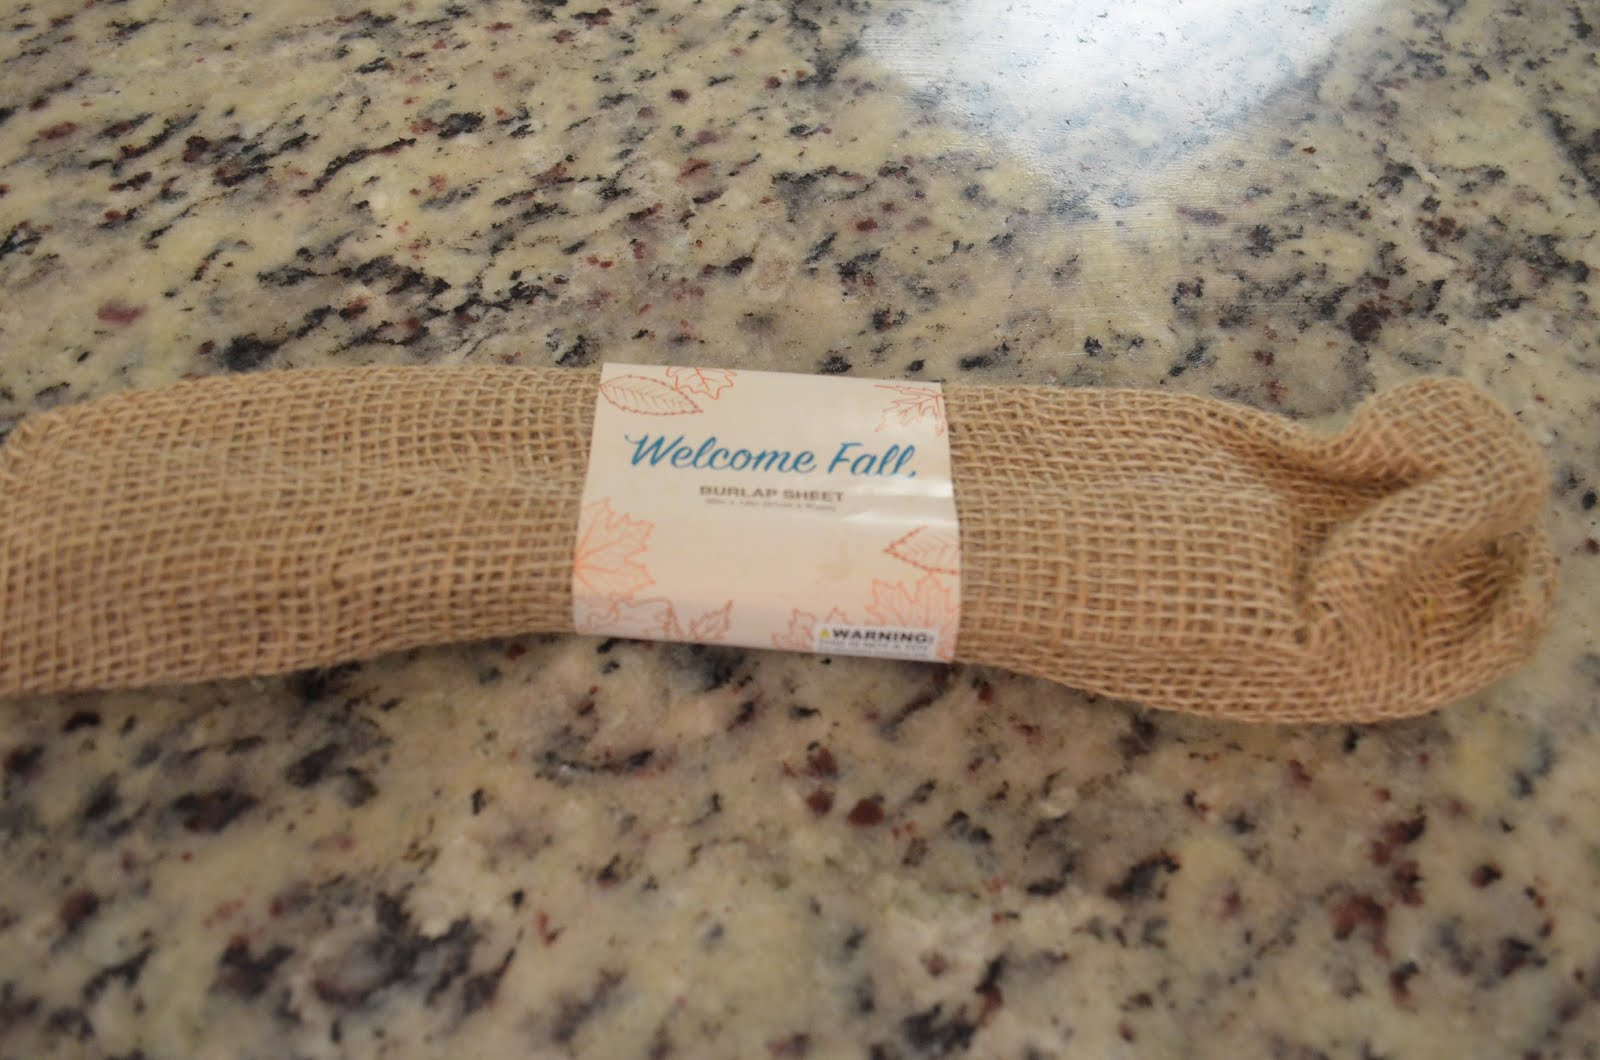


I bought 1/8 of fabric for about .52 cents at Hobby Lobby and the amount of fabric was just perfect for this little project. I was able to make four big purple rosettes and four small white and gold ones. The sheet of burlap made four big rosettes.
I also used the white and gold fabric to make cute and stylish pumpkins. I bought two pumpkins from the Dollar store, they were on sale for .25 cents since they were part of the Halloween decorations.


I covered the pumpkin with the fabric making little folds to give the illusion of the pumpkin.
And this is how they came out. Lovely!


I arranged the rosettes around the pumpkins on they tray alternating the colors. When I tell you that this is the easiest centerpiece, I mean it. And I really love the way it turned out. I love the fact that I used purple for a pop of color, this is not a traditional Thanksgiving color but it looks perfectly paired with golds, and oranges. I also like the fact that I didn't use traditional fall flowers and gave it a little twist by using roses, which also happen to be a fall flower. 


I also added two big white flowers to each side of the tray. The final look was just amazing. 


I hope you and your family are getting ready to give thanks and to enjoy all the delicious food during Thanksgiving! thank you for reading. 

Wednesday, October 25, 2017

Mickey Mouse Party on a Budget

Hello Friends! this past weekend I helped my sister in law put together a little party for her one year old. He loves Mickey Mouse and as a proud Disney fan, I couldn't be more exited to help her with this little project. My sister in law is mom of two little ones and planning a party can not only be stressful but costly. I told her I would help her put together a super cute and eye popping candy table for her little celebration. My challenge is always to find beauty in all things and use my creative side to make them look like they are worth a lot more! When  you think about parties, as little as simple as you go, little costs here and there add up and you might end up spending a lot more at the end than you had initially planed. Yes, this is mostly the case. Here is how the Mickey Mouse candy table looked and oh my, did she get compliments. People probably thought she spend a lot more than we really did.
 

When it comes to parties, the first stores that I check are dollar stores. These stores have tons of hidden items, that with just a little ribbon or maybe some glitter, can be turned into beautiful party supplies. Here is an example. Dollar Tree has these cute little white wedding favor boxes and they are 12 for only $1.00
Details and Accessories White Wedding Favor Boxes, 12-ct. Packs

In my case, I use my Cricut machine for everything!! I know I have said this before but she is definitely my best friend when it comes to party decorations. So of course I used it to make these plane white boxes look awesome. I created a couple of Mickey designs and hot glued them on the bag, added gummies and little marshmallows inside and done! Too cute and so simple!!


I also bought these treat cups at the  Dollar Tree. They were 8 for $1.00 and filled them up with popcorn. We all know popcorn is not that expensive and it is always a hit! Kids and grown ups love popcorn equally. 


I bout these Kool Aid juices at Kroger for $1.00 for a pack of 6. I added a little Mickey shape and and cute straw, and wow! they look perfect! 


I have always loved candy boxes. I just love the variety and the colors. They come in convenience shapes and are only $1.00 pretty much anywhere. I bought skittle boxes for this occasion. I covered them with paper and a little Mickey design made of course with my oh so perfect Cricut Machine! 


Ordering online can sometimes be a better option that buying things at the local stores. Oriental Trading is also a great option for party supplies. They have a huge variety of anything you can think of for parties and sometimes, they even have free shipping promotions. I bought these adorable red favor boxes online. The dozen was only $4.99. I have seen these boxes at other party stores for .99 cents  a piece!! They are already cute, but they look incredible with a little paper design.


Now, I know not everyone has a Cricut machine that cuts perfect designs. But with a little creativity you can also turn a plain simple item into something cute and festive. Here is an example. These bubbles were already in the Christmas section at the Dollar Tree. I thought that four bubble sticks for $1.00 was a great price! But of course, this wasn't a Christmas party. But with a little creativity I looked around the store for little stickers that I could maybe use. I didn't really find stickers, but I found the cupcake combo packs and thought, "yes, these are perfect"


I cut the little part that goes in the cupcake so that I can get a round shape and glued it to the little handle and made them look great! I really like the way they turned out! 


Our family loved everything so much and we took great pictures for memories. As parents we want to give our children the best we possibly can. We want to make sure they have memories and pictures to look back. Their smile is priceless and at the end, that is the reason why we work so hard at everything we do.


Thursday, October 12, 2017

WICKED BANNER

Loving the smell of Halloween in the air!! Even though we don't really get that many days of fall here in Texas, I still try to find any opportunity to celebrate and enjoy October. I picture myself dancing with the witches, bats, ghosts and vampires. From all my Halloween decorations at home, I had to dedicate a little "corner" to two of my favorite evil characters, The infamous Wicked Witch of The West and her sister, The mysterious Wicked Witch of the East. The Wizard of Oz is my favorite fairy tale and I have always been fascinated by the enigmatic and brief appearance of the Wicked witch of the East. Her red slippers and black and white stripped legs is the only thing we are able to see about her. But just this seems enough to create such an iconic witch look. And the combination of those colors is so elegant! Her site is a little more casual, she keeps it classy with only black and green. These two ladies are my favorite evil and spooky gals and that is why they have to be present and celebrated at the Juarez household. I created this gorgeous and elegant banner and a small candy station to pay tribute to these mean, and evil but graceful and elegant sisters. 

I bought these Halloween decorative frames at the 99 Cents Only store, and Oh my, they have so much cute stuff for Halloween! I can spend hours (and lots of dollars) just looking through all their seasonal decorations. I know these already look gorgeous but I wanted to give them my personal touch of course.


I removed the little skeletons picture from the frame and trace the shape on a black pasteboard 


I cut out the shapes, and I also cut out silver ovals to go in the middle of the frame.


Using my Cricut Machine, I cut the words wicked and glued them to the middle of the silver oval. and then I hot-glued the shapes back on the black frame. 


These are the ribbons I used to put the frames together. I already had them at home, the only fabric I bought was the black and white stripped one. I found it at Hobby Lobby and I bought 1/4 of a yard for about $1.20.


These colors together looks so pretty and elegant. I love the combination! 


I used the ribbons to tie the frames together. Doesn't it look so pretty? I think it does and I love it!!


I also made my own combination of black, red, and green candies for the little candy station.


Thank you for reading, I hope you like the little ideas and presentations of my every-day celebration journey :)


Sunday, October 8, 2017

DIY- Dollar Store Halloween Decor


My little family is enjoying Halloween to the fullest. I have to say that my cheer for Halloween is very contagious for my husband and my son. Throughout the years, they have gotten used to being part of 31 little parties during the month of October, sometimes even earlier LOL! I have to admit that I might like Halloween decorations a little more than Christmas. Yes, it is the truth, sorry! :) There is just certain elegance to all those blacks, dark reds schemes, and of course, all the fun that seems to be harmonized between the little ghosts, witches and skeletons. Needless to say, I am HUGEEEE on Halloween decorations at home, although many of them tend to be very pricey, even for the material they use. Every year, when Halloween is over, I rush to Target, Hobby Lobby and Michael's to buy the discounted holiday items and put them away until next year. This time, I decided to challenge myself to make a DIY project using supplies entirely from the Dollar Store, and I have to say I was very happy with the results. Let me show you how I made this super cute "marquee halloween light box" 

These are the supplies I bought, for a total amount of $11.00 for all three boxes. 


I bought 3- 8X10 frames, 3 little lights, 2 Halloween place mats, two foam boards and one sheet of cute, partying ghosts. I bought all the materials at the Dollar Tree except for the place mats, I found those at the 99. Cents only store.


I put the picture frame apart and removed the mat.


I cleaned the glass and made sure that there were no dirty spots.


I moved on to tracing the parts to put together the frame for the box. 


I cut one rectangle the exact same size as the frame. No perfect measurements here. I basically just used the frame to trace its shape with a pencil on the foam board. 
The other rectangles for the sides of the box were the following measurements.
2.5 X 12 inches long. and the other two were 2.5 X 8 inches long.
 I put together the frame using hot glue and the attached it to the front part of the picture fame. I also added a few dots of hot glue to the inside of the frame so that it would stay in place.


I used the back part of the frame to create a template for the lights to go in. I pre-made a template in the computer with 20 little holes around the frame, one for each little light. 


I cut the place mat to fit in the middle of the holes. I liked these place mats because the images were the perfect background since I wanted to create sort of a 3D effect.


I placed the lights around the frame following my template.


I added a few dots of hot glue to the back of the lights to attach it to the foam.


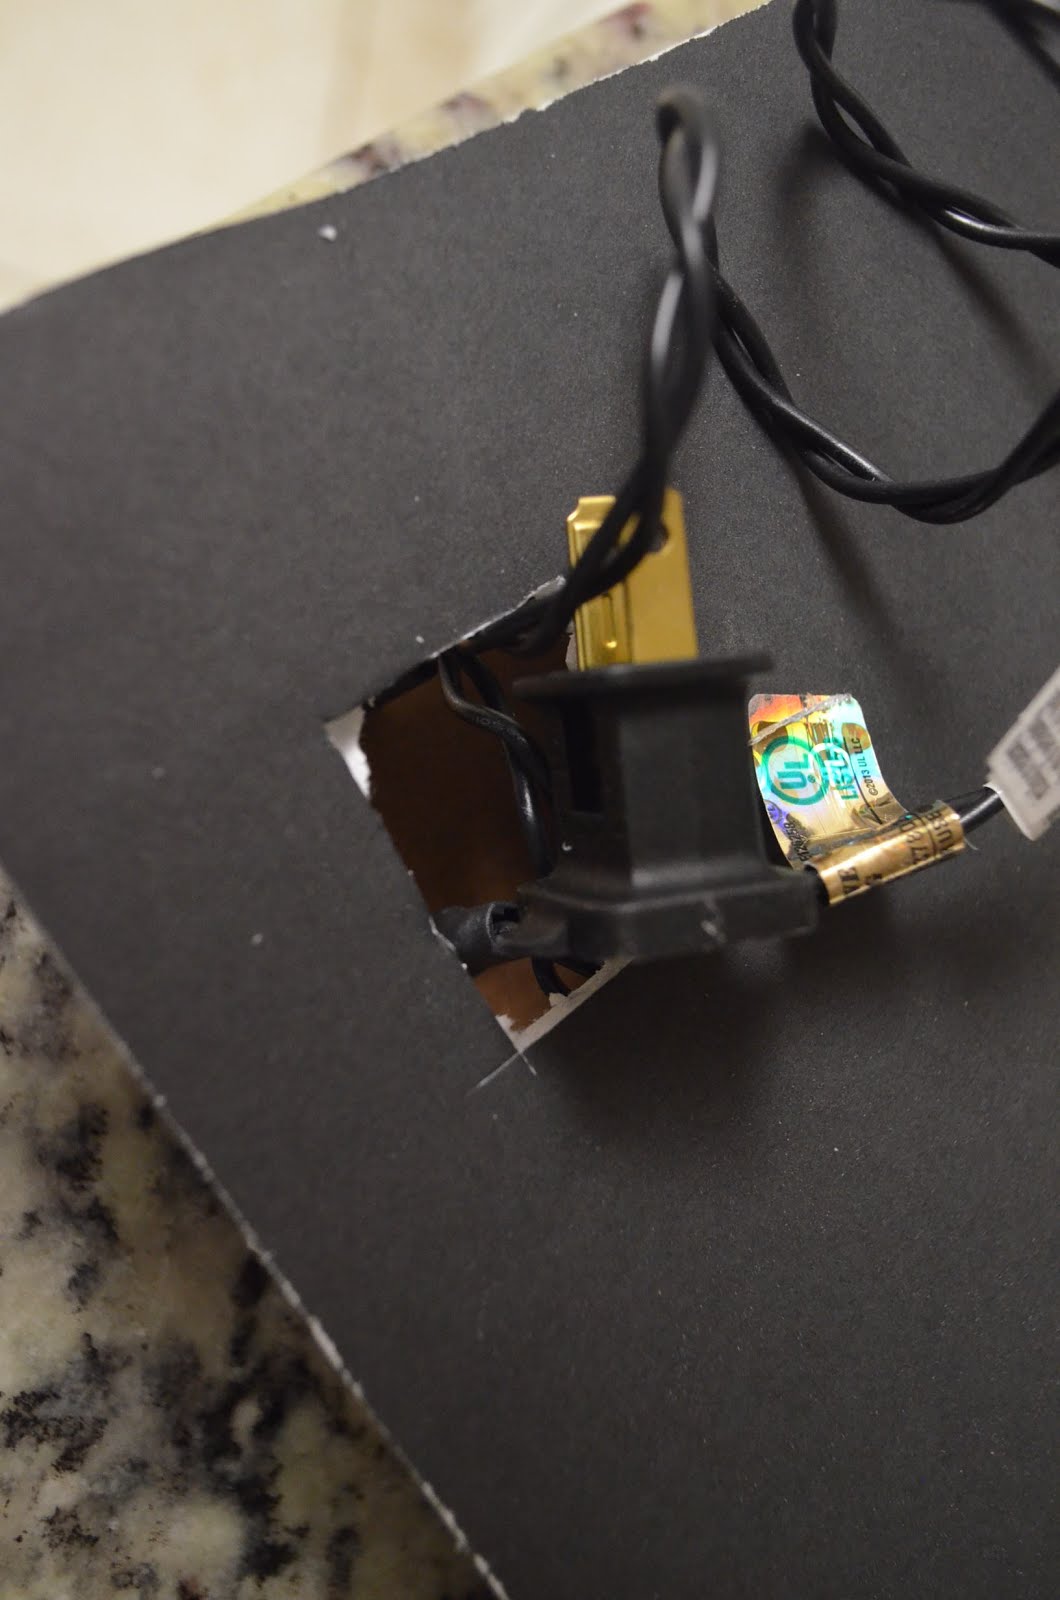
Before attaching the back part to the frame, I cut a little square for the plug.


And these are the final results! I love the way they came out and honestly, they look so much better in person than they do in pictures. My family came over and I got lots of compliments on them. I think they are super cute and fun. So perfect for Halloween, but I wouldn't hesitate to make a couple of these little projects for Christmas too :)


WIKED, BEWARE, SPOOKY!!

My favorite holiday is here, I mean, Halloween pretty much begins as soon as summer is over am I rite? at least it does for me, and I kno...